Installed auxiliary socket
It often happens that in the necessary place there are no sockets and there is no need to multiply the not so aesthetically pleasing. In my opinion, it’s clear that the socket is simply necessary in this area, then it’s better to install an additional socket.
Connect the additional socket as best as possible to the socket box, since there are no close socket boxes, then you can connect to the other socket as a whole.
We will need to think over the route of laying the wire or cable to the new outlet. If necessary, lay the cable strictly vertically and horizontally, bending over other engineering communications, and using the shortest path. As if with a path of the smallest support, for example, not varto dovbati zalіzobetonne zakrittya, so you can get by with a five-meter loop.
Before that, how to start, whether it’s electrical engineering robots, it’s necessary to take the voltage out of the darts and the set-up vibrations, with which the robot can be. Then we need to switch over, which is really connected to the voltage, for which you can speed up with an indicator twist or a probe)).
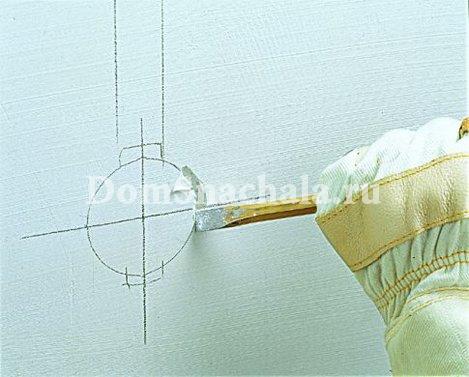
If the cable laying route is wired, and the electrician is plugged in, you can go to the slug. You need some kind of tool for laying a chip, to lay it in the material of the wall: with a gypsum wall you can work with a great old chisel, cement plaster with a scarpel, with a simpler one you can use a perforator, and for laying a hole in a Turbo concrete, you need to use a diamond shape (USHM) , and then select the center with a perforator. There is a great minus for the robotic angle grinder: since it is important for a grinder to cut concrete without wetting with water (dry cut), then as a result there is a large number of saw blades. If sawing is unacceptable, then you can only use a perforator: for an additional drill with a diameter of 16-20 mm, open the cable through the route, so that the stench of the yakomoga is closer one to one, and then, in the blow mode, cut the jumpers between the openings.
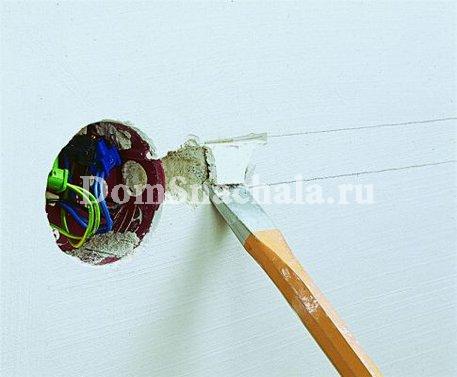
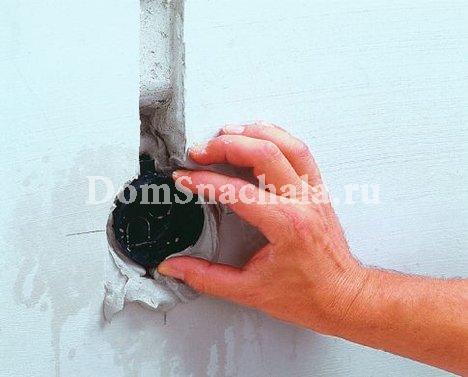
The next stage, tse virubuvannya nіshі pіd pіd socket outlet. The tool is selected in the same way as for laying the chimney. In addition, since the material is soft, then to make the contour it is possible to speed up the crown with a drill bit, with a threefold larger diameter than the diameter of the socket.
As a result of all operations, the wire is to blame for the shtrab, and the socket for the socket is to blame.
They gave you the need to fix a socket box, for which you can use vicoristing alabaster, gypsum plaster or another fixing warehouse.
In addition, as a fixing warehouse of applications, it is necessary to install an even socket. The front part of the socket box can be aligned with the wall, and the socket box itself can be vertically stacked.
It’s not just one socket that is being installed, but a group, manually twisting the template ahead of you))
After catching the socket in the socket, you can lay a cable, fix it and plaster it.
After finishing the plaster, you can connect the cables to the wires to the terminals in the rose box.